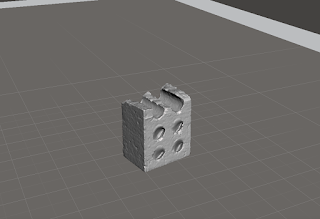
The completed object will be look like:


Beside the object itself, everything extra including the flooring and background need to be removed. Holes and gaps can also be filled and polished here (see demonstration below).
After modifying the object, the file needs to be save as stl to allow the access from 123D Make.
Removing/ Deleting parts:
1. choose "select" from the left tab
2. adjust the brush to appropriate size
3. circle the extra parts
(it will appears in red line)
4. press "delete"
After editing the model, check every edge and corner on different surface wether if there's still any gaps or additional parts that need to be deleted (needs to be done carefully, unknown holes might cause failure next step).
Save the file in stl.


沒有留言:
張貼留言