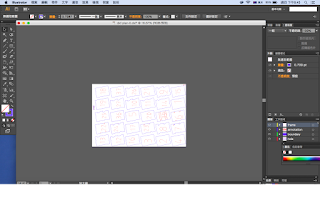
Open the dxf file in Illustrator:

1. change the size of your paper to fit your material board.
(900mm x 600mm in this case)
2. rotate laser cut template to fit the paper
3. delete the invisible line on the edges of the paper.
(the step can avoid laser going along the edges and cause ugly burn on the material
board)
4. exchange the colour of blue and red lines.
"Red" line means "cut" and ""blue" line means to mark lightly on the surface of the
material. You would like the outline of the stacks to be in red for cutting and the
notes and numbers in blue for marking
5. highlight every single line on the page and make the front into 0.05 mm, which will
automatically changes the number into 0.14...... (this is the standard width of laser cut)
6. save the file in ai
Laser Cutting:
Import the ai file into laser cut machine. It takes about 20 minutes to finish the laser work.
laser cut machine
processing
It is important that you stick along the parts on the board with masking tape before removing the material from the machine, otherwise the small pieces might be falling into the exhausted grid under the machine.


沒有留言:
張貼留言